Making my most popular belt.
This is a set of tutorials that will make up a course. The aim is to demonstrate all the steps and techniques involved in making my most popular belt. The same techniques form the basis of all good Strap making.
Mastering the Strap.
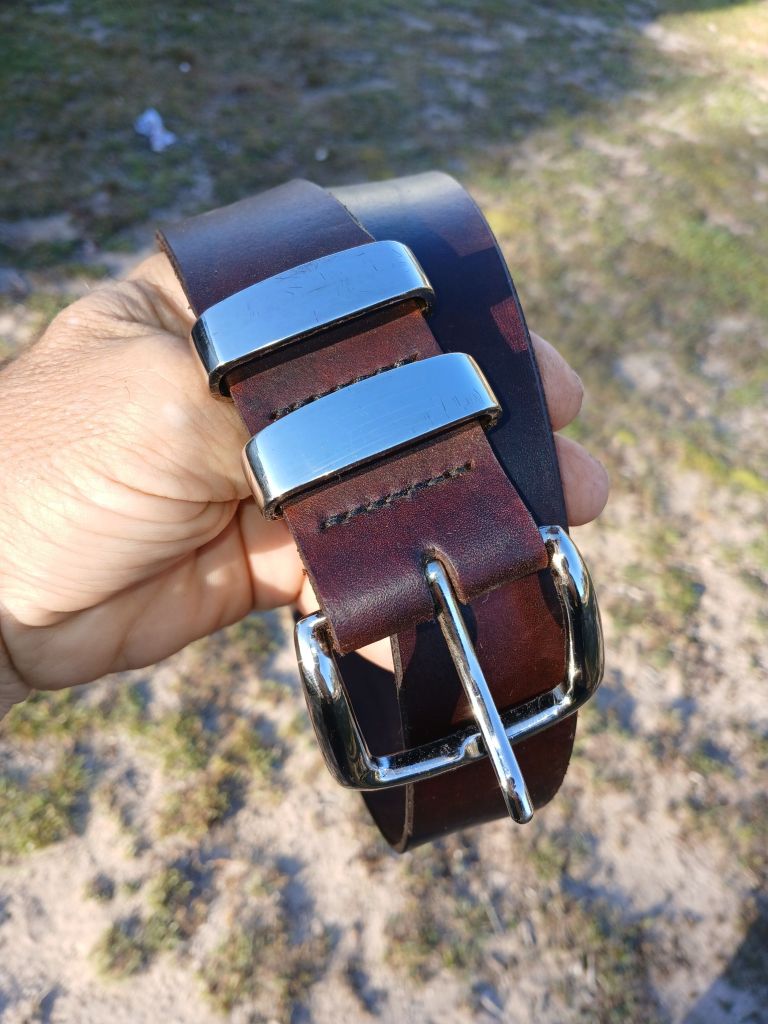
Our first “learn-as-you-go” project is the Belt. I have selected the belt as our starting point because it introduces the core skills and basic tools required for almost all routine harness and leather work.
The techniques you learn here—cutting, edging, and hardware attachment—are the core building blocks you will use for most strap making.
Select your leather
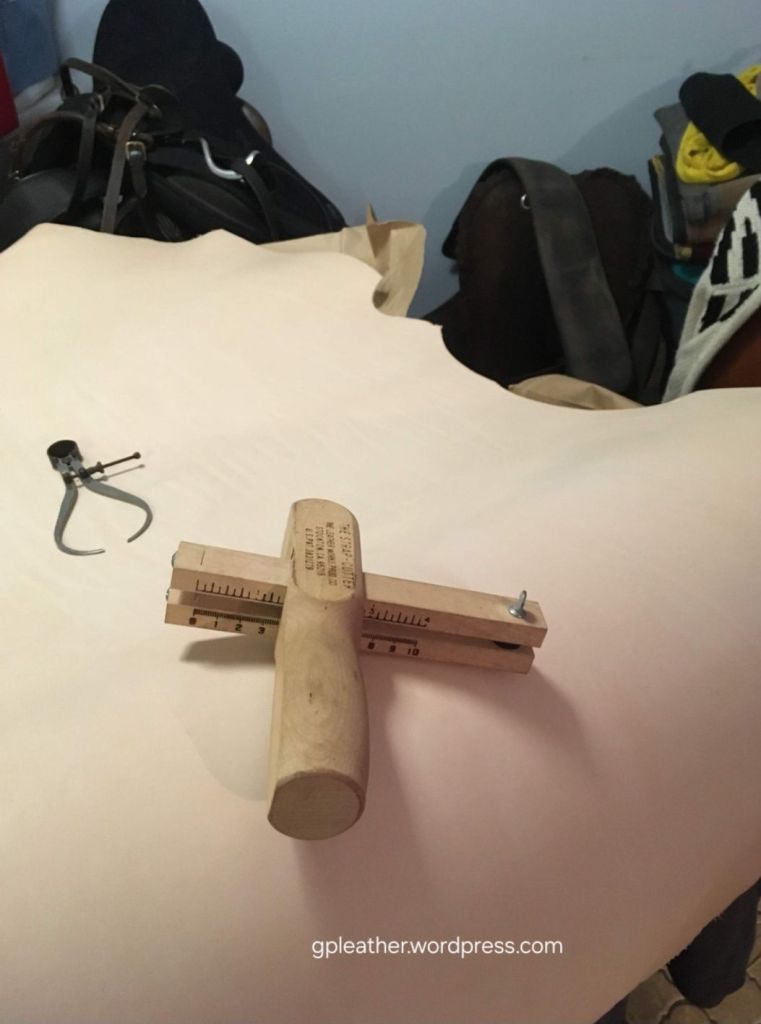
Selecting pre cut and prepared leather makes the job quick and easy. This is a good way to get started. For the purpose of this project I will use a pre cut naturally tanned peice of cow hide. Approximately 4mm in thickness and 38mm wide. The pre cut lengths are as long as the hide, so you can make a very long length belt. These pre cuts can be purchased from any leather craft supplier just about any width and common colour.
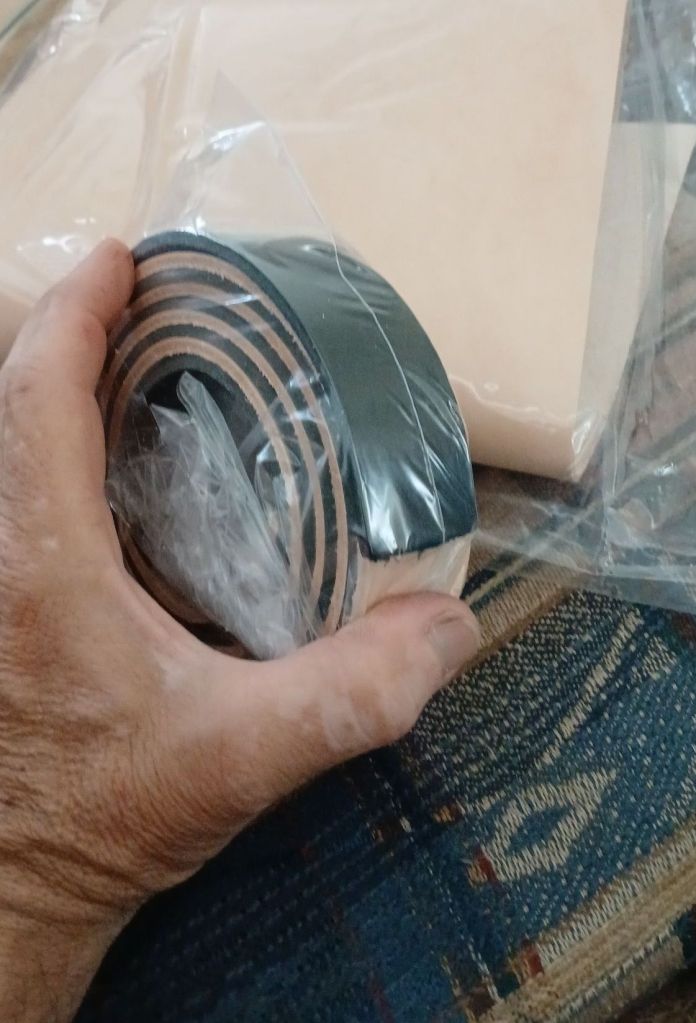
If you would like to skip the colouring stage on your first project then get yourself a pre coloured length of leather. These lengths are economically priced and you will be able to make a belt at a fraction of the equivalent retail price.
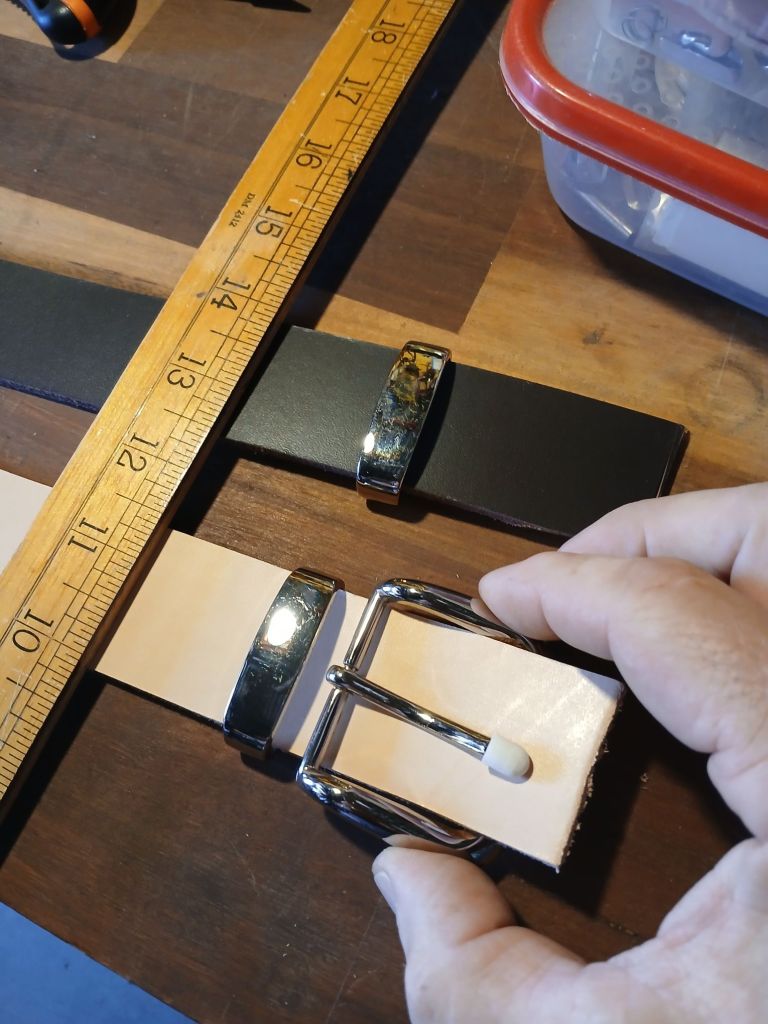
Hardware consists of all the components of a hard nature that are not leather. This can be buckles, keepers, press studs, eyelets, conchoes, zippers, and so on.
It is important to go in with a plan and pre select hardware prior to starting the project.
For a belt or other item that will use a buckle, it is important to make certain the leather strap is comfortable passing through the keeper and buckle.
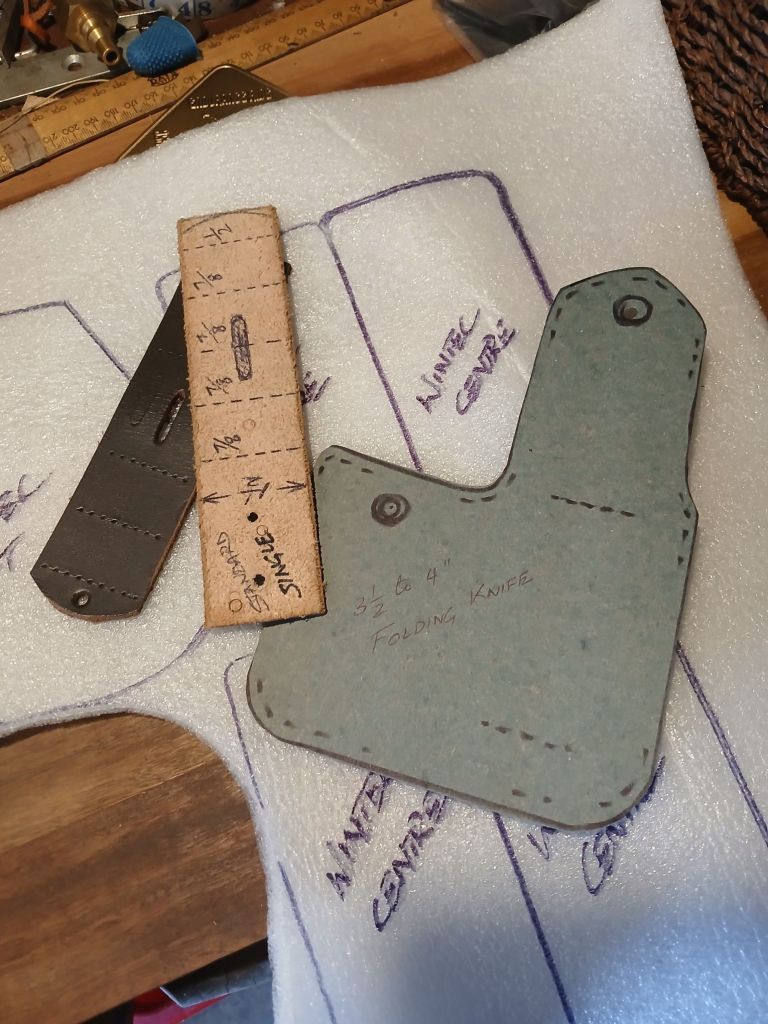
Notebook & Template
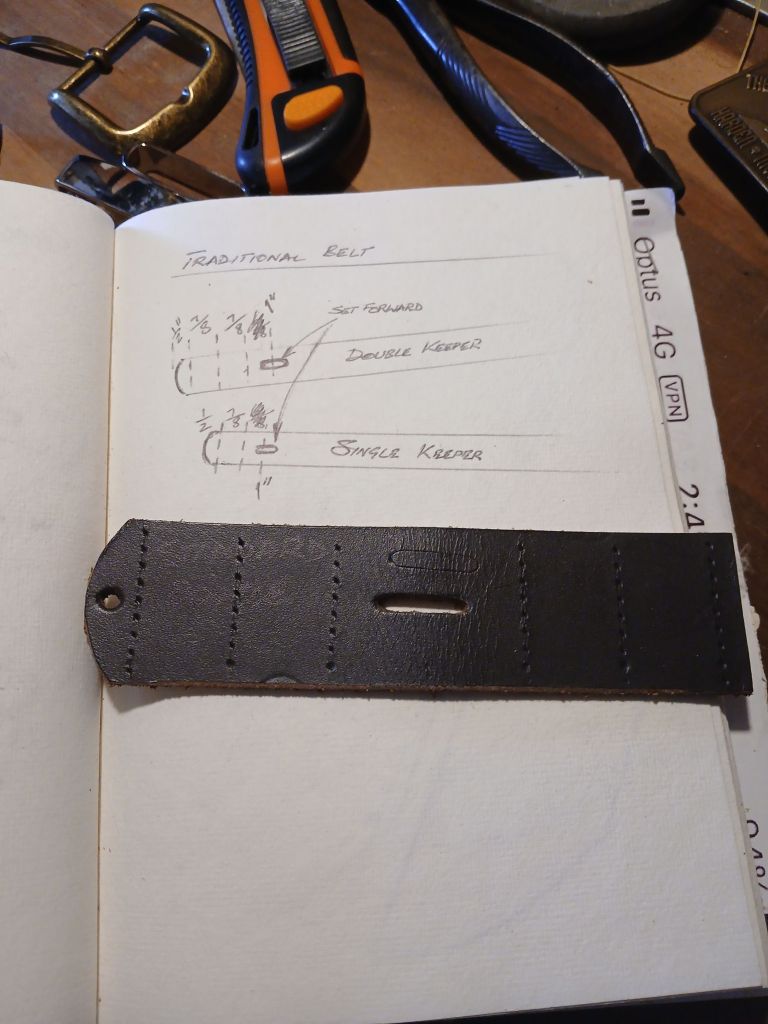
Note Book: Every item you make should be noted down. A sketch with measurements and a few notes is all that is required. This will become your reference point for all future projects.
Templates: Correct to size Templates speed up work and ensure consistency. You can make templates from any material that you find fit for purpose. Some templates you will prefer stiff and others need to be flexible. Even off cuts of leather can be used as templates.
Marking the Leather
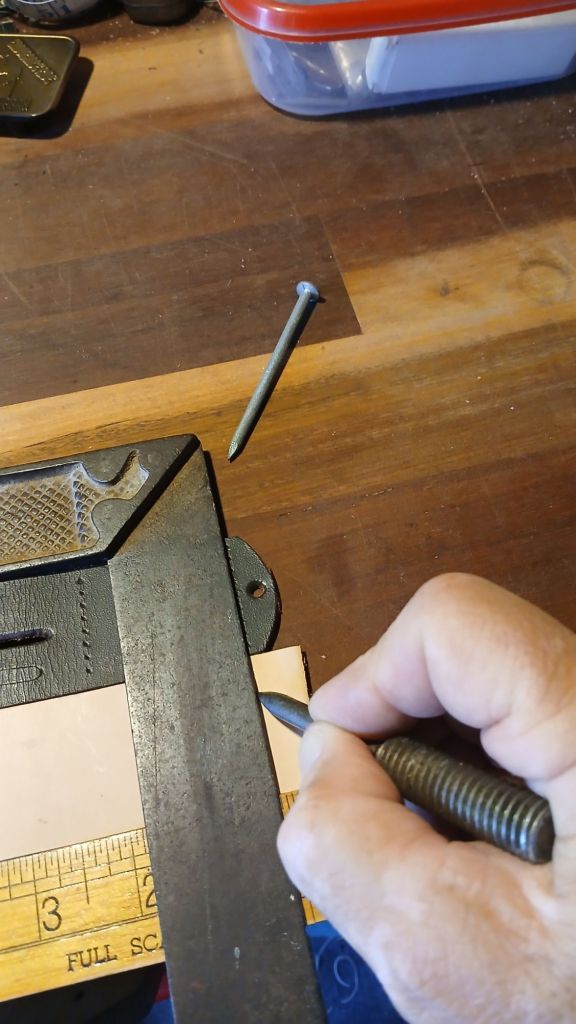
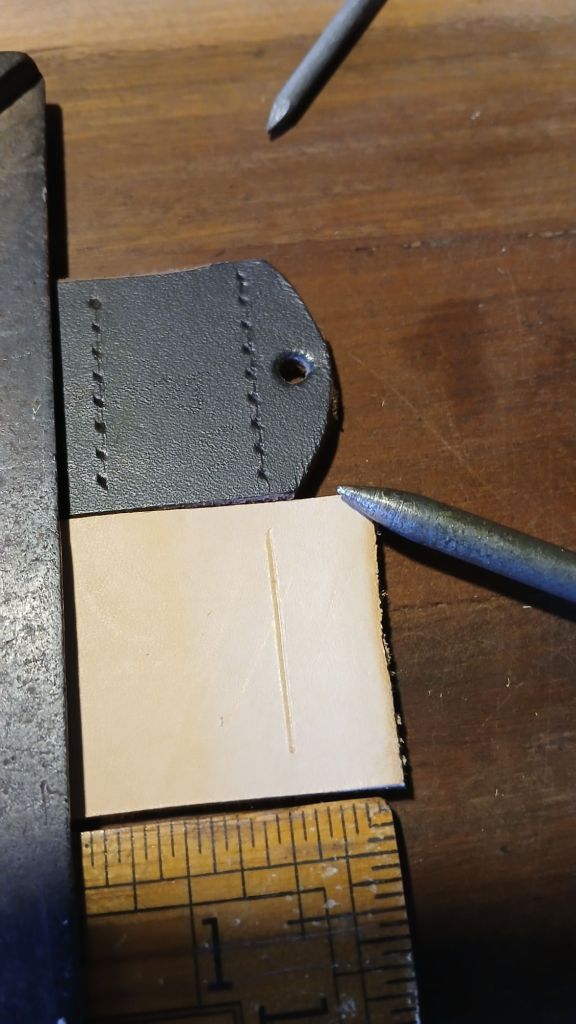
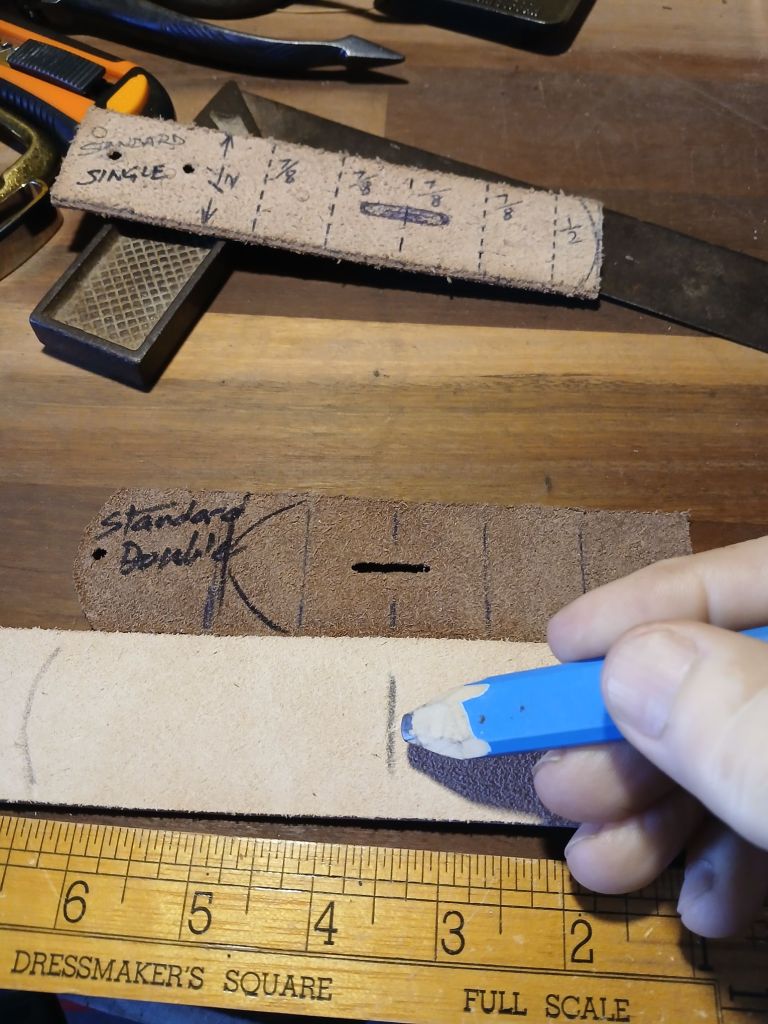
Marking the Leather is easy. Make yourself a Marking tool. You can smooth over the point of a nail or other item to make leather scribe. In the picture above you can see that I am using a home made marker. The important part is that the item is pointed enough to leave an impression without cutting or tearing the leather.
In the pictures above you will see the following:
I am using a timber ruler as a rest. This will help to keep the leather straight and stationary.
A template to show me where to mark.
A right angle as a guide and marking edge.
Subscribe to gain access to Tutorial 2. The Strap
In tutorial 2, I will show you, how to:
Make and use templates
Stitch punch
Hole punch
Trim tail
Fold set

You must be logged in to post a comment.