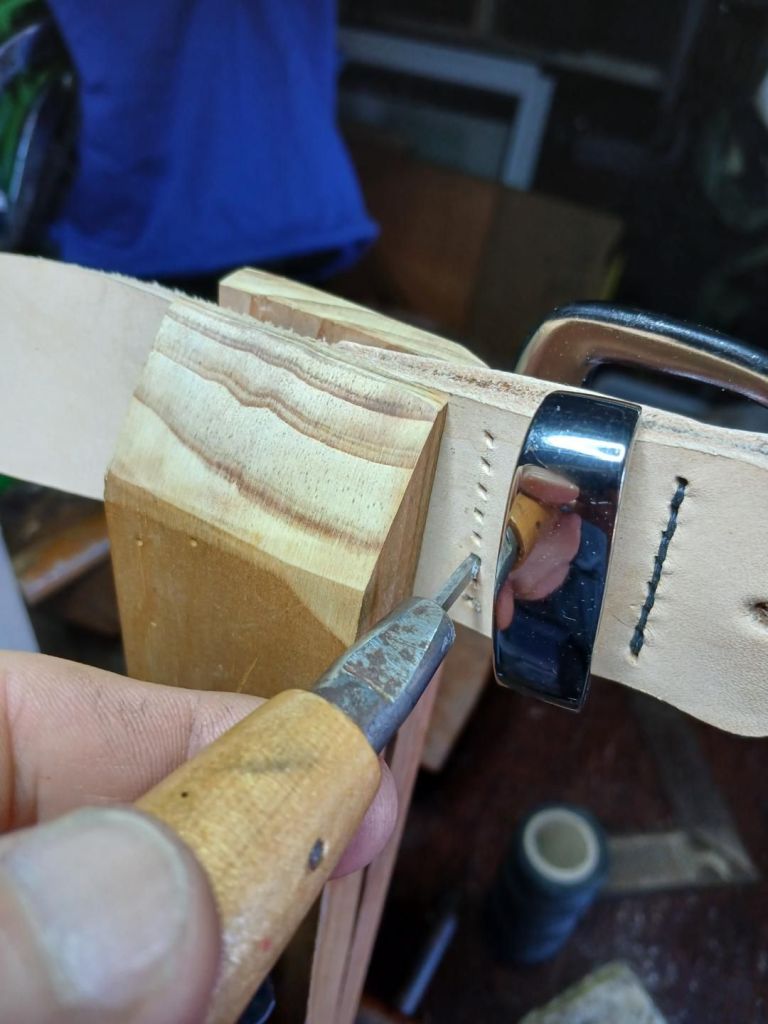
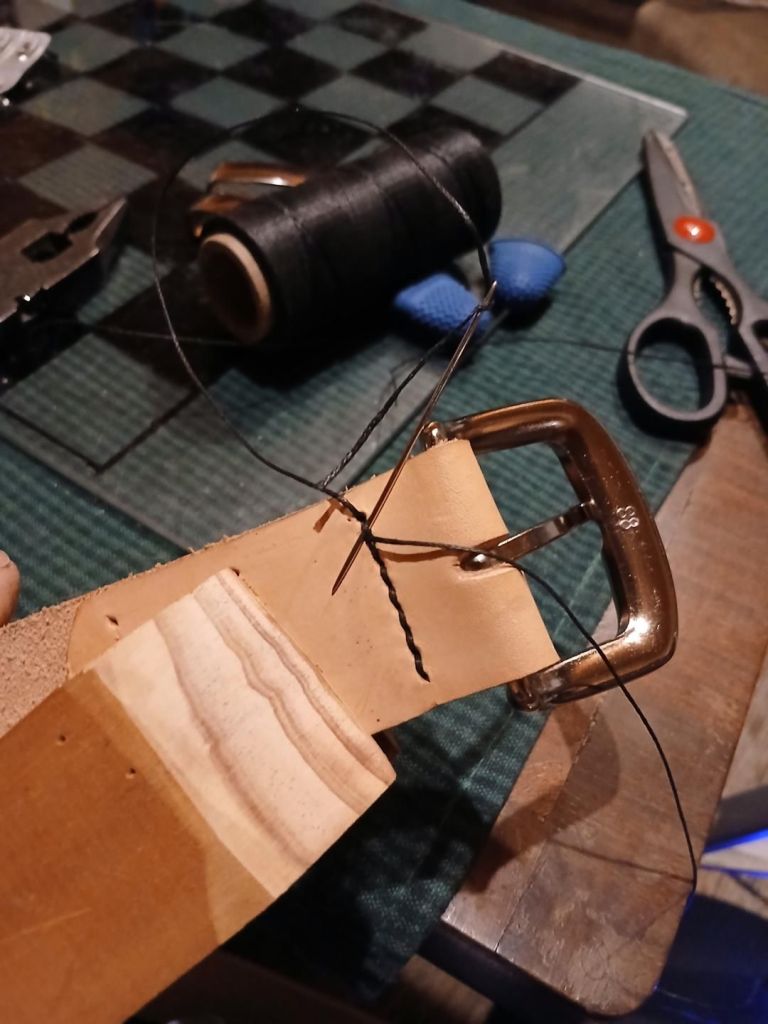
There are several stitches a Harness Maker / Leather Crafter will use. Today I am teaching you to saddle stitch 👍
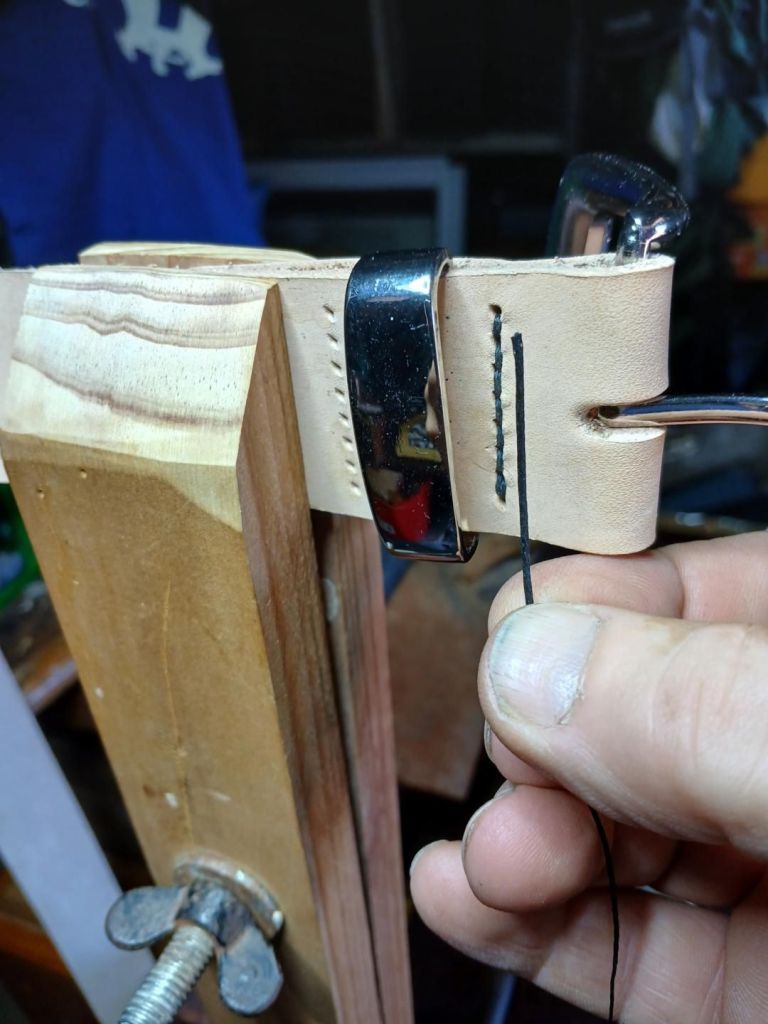
This is the classic hand-stitching method in leatherwork where you have a needle on each end of the same thread. You pass the needles through the same hole from opposite sides, which locks the stitch in place.
Why leatherworkers love it:
Super strong (won’t unravel if one stitch breaks)
Even, professional-looking
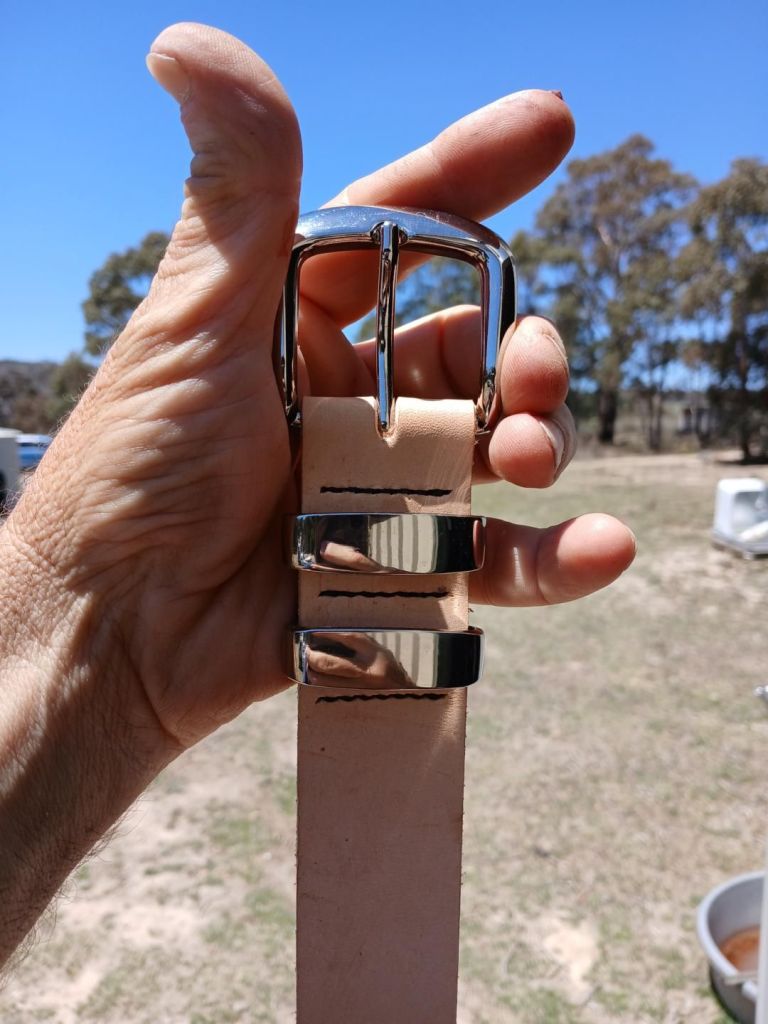
Used for belts, sheaths, saddles, wallets—pretty much anything meant to last
If you’ve ever seen a leather piece that looks like it could survive a small apocalypse… odds are it was saddle stitched.
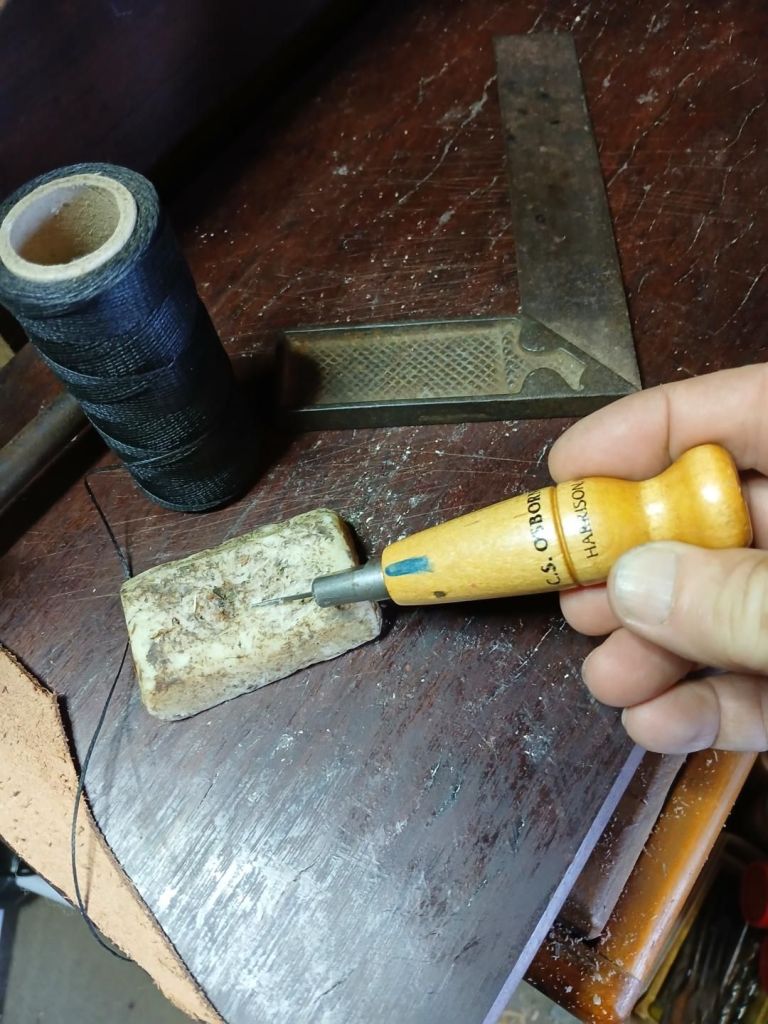
Before I teach you this please consider making a Stitching Pony. It is not essential, but it a great aid to have, and will make things a lot easier for you. If you continue with this craft then you will want one. Take a look at the following pictures. There are no design rules. Most Harness Makers have several of differing designs and sizes.

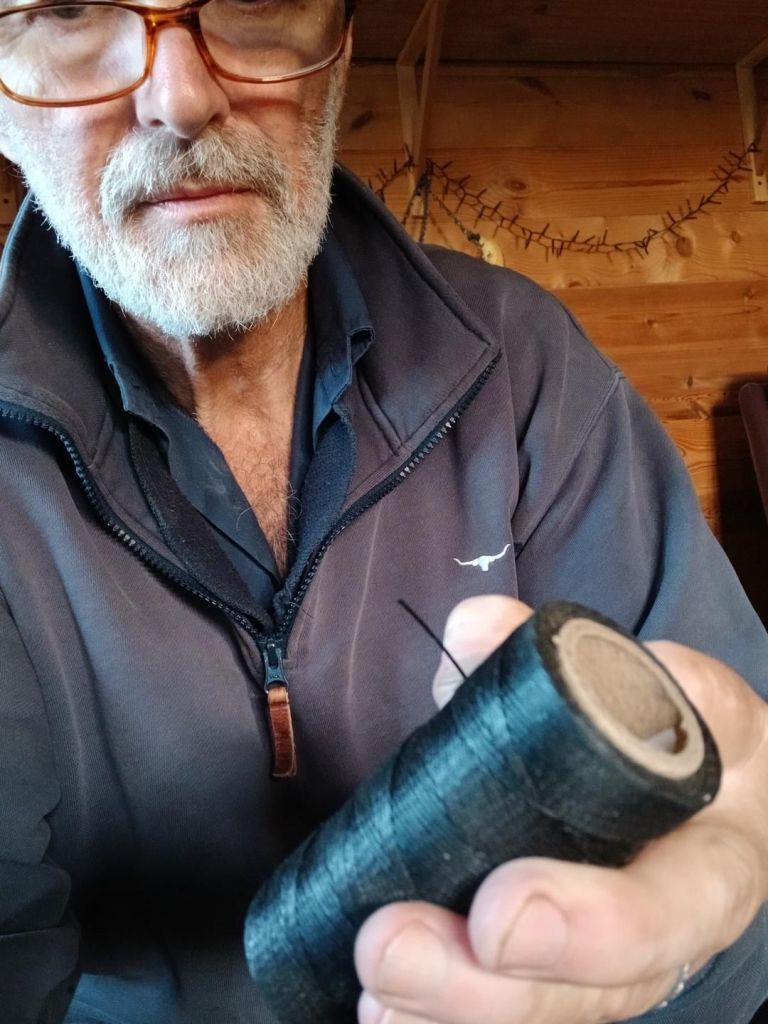
Pictured above is my favourite Wax String. SPE150D. Available in all the colours of the rainbow 🌈. It is a multifiber blend and very strong and resilient. Perfect for belts, knife pouches, and heave harness work. Traditionally Harness Makers would use a cotton, and wax it themselves. On some reproduction work I have done this for Authenticity. There is no one cotton or string for every job. Heavy work heavy string. Lite work, lite string/cotton-blend.
Follow the link for demonstration clip:

You must be logged in to post a comment.